Christmas Hat Craft — 6 Fun DIY Ideas for Kids and Adults
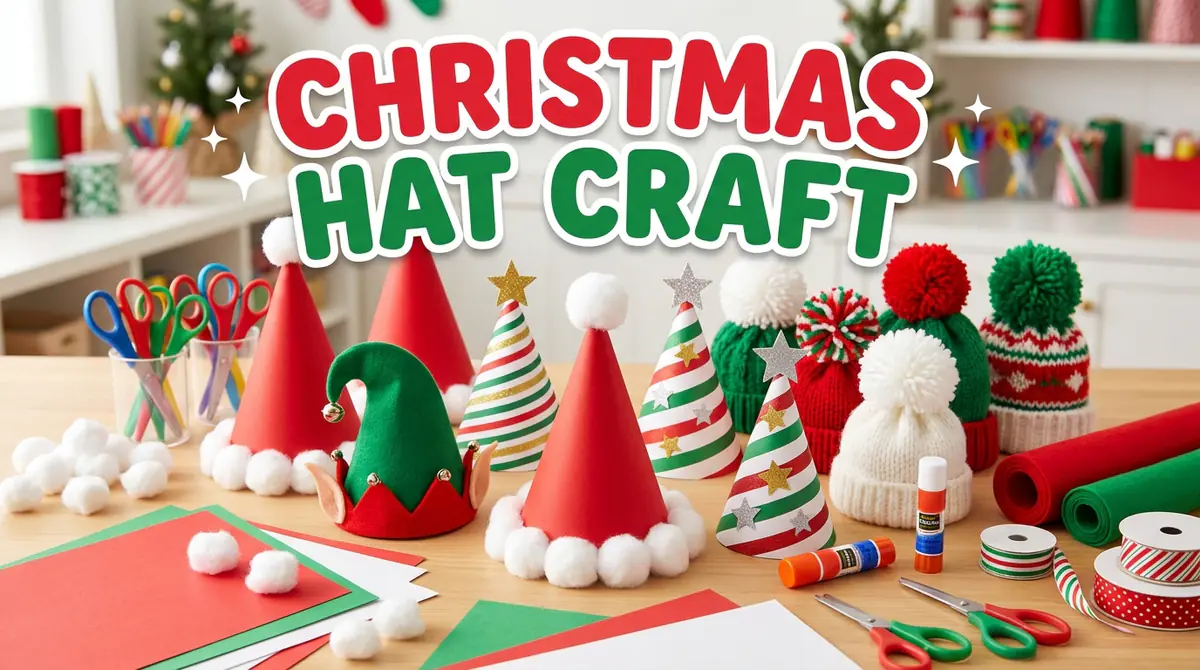
Christmas hat crafts are a fun way to bring creativity into the holiday season. Whether you’re preparing a classroom activity, planning a Christmas party, making decorations with your children, or creating handmade accessories for a festive gathering, there are plenty of ways to turn simple craft materials into cheerful holiday hats.
The classic red Santa hat is always a favorite, but you can also experiment with paper hats, reindeer antlers, elf designs, and colorful Christmas tree hats. Many of these projects use inexpensive supplies such as cardstock, felt, cotton balls, glue, and craft foam.
Below are six different Christmas hat craft ideas, each with its own design and instructions. Choose an easy paper project for younger children or try a more detailed fabric craft if you want something reusable.
Classic DIY Santa Hat Craft
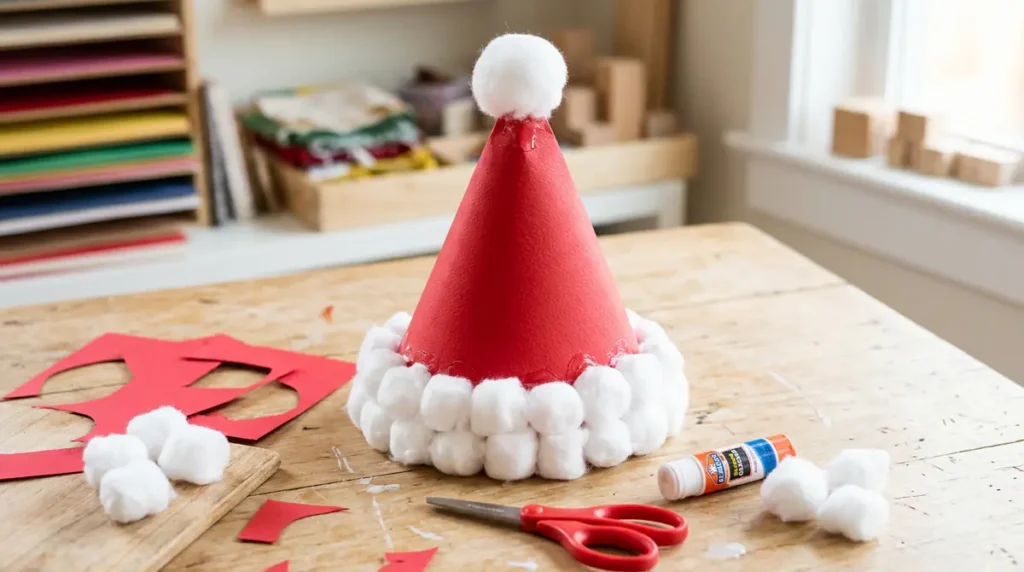
A handmade Santa hat is one of the most recognizable Christmas crafts. Its bright-red body, fluffy white trim, and white pom-pom make it instantly festive.
You can create a lightweight paper version for a classroom activity or use felt for a hat that can be worn during a holiday party.
Materials you’ll need
- Red cardstock or red felt
- White cardstock or soft white felt
- Cotton balls, if desired
- Scissors
- Child-safe craft glue
- Pencil
- Measuring tape or paper strip for sizing
How to make it
- Measure the circumference of the intended wearer’s head using a flexible measuring tape or paper strip.
- Cut red cardstock or felt into a large triangle with a curved lower edge, leaving enough material to form a cone or hat shape.
- Roll the red material into a cone that fits the head comfortably, then secure the seam with glue or suitable tape.
- Cut a white strip wide enough to cover the lower edge of the hat and attach it as the brim.
- Add a white pom-pom to the tip using glue or a securely attached craft pom-pom.
For a softer version, use felt and a fabric-safe adhesive. For a simple school project, cardstock is easier to cut and assemble.
Styling tip: Add small paper snowflakes or stars to personalize the hat, but avoid heavy decorations that could make the cone collapse.
Paper Plate Reindeer Antler Hat
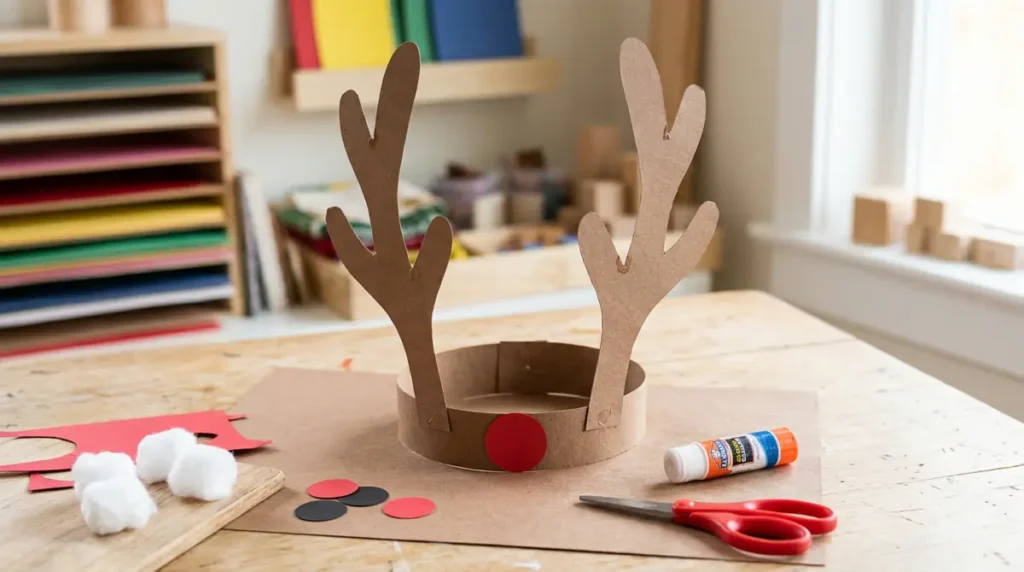
A reindeer antler hat is a playful alternative to the traditional Santa hat. It is especially suitable for preschool activities, classroom Christmas parties, and family craft afternoons.
The finished design looks like a headband with two brown antlers and optional red or black reindeer details.
Materials you’ll need
- Paper plate or sturdy brown cardstock
- Brown construction paper
- Red and black paper
- Scissors
- Glue stick
- Pencil
- Elastic or a paper headband
Step-by-step instructions
- Cut a wide band from sturdy cardstock, or use a paper plate to create a curved headband base.
- Draw two reindeer antlers on brown construction paper. Make the antlers broad enough to remain upright.
- Cut out the antlers and attach one to each side of the band.
- Cut small red and black circles from colored paper for optional nose or decorative details.
- Decorate the front of the band and allow the glue to dry completely.
- Adjust the band to fit comfortably without squeezing the head.
Styling tip: Use brown cardstock for a natural reindeer look, or add glitter paper to make the antlers more festive. Younger children should have an adult handle any cutting that requires sharp scissors.
Christmas Tree Party Hat Craft
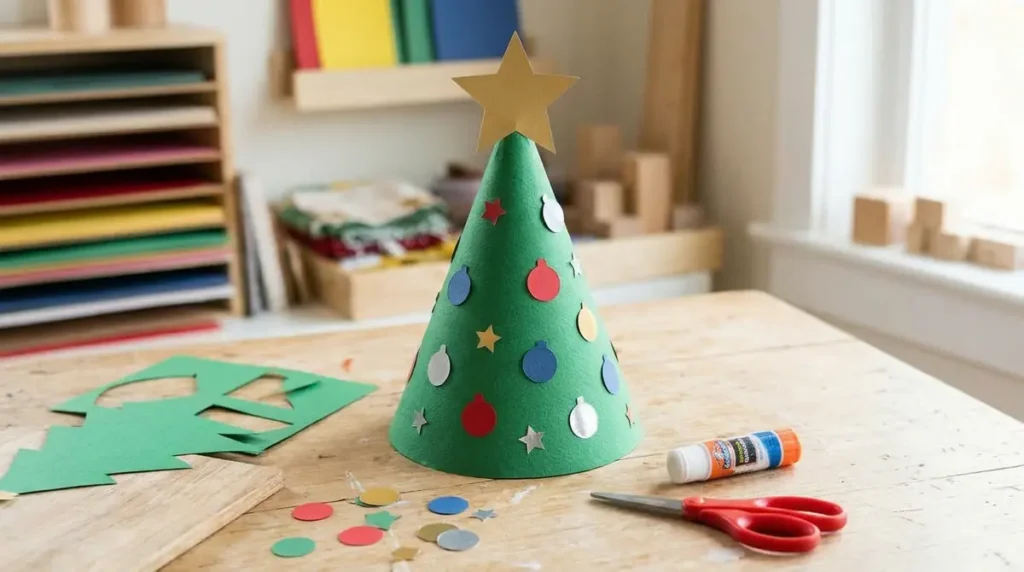
A Christmas tree hat transforms a simple cone into a miniature festive tree. It is a colorful craft for school celebrations, holiday photo booths, and Christmas parties.
The cone shape makes it easy to decorate with paper ornaments, stars, and strips of green material.
Materials you’ll need
- Green cardstock
- Yellow or gold cardstock
- Red, blue, and other colored paper scraps
- Glue stick
- Scissors
- Ruler
- Tape or stapler for adult use
- Optional elastic chin strap
How to make it
- Cut a large semicircle from green cardstock.
- Roll the semicircle into a cone and secure the seam.
- Trim the bottom edge so the cone stands evenly.
- Cut small circles from colored paper and glue them around the cone as Christmas ornaments.
- Cut a star from gold or yellow cardstock and attach it to the top.
- If the hat will be worn, add a comfortable paper band or a safely secured elastic strap suitable for the wearer.
Styling tip: Use different ornament colors and sizes to create a lively tree design. For a minimalist version, decorate the green cone with gold stars and a single large topper.
DIY Christmas Elf Hat With a Pointed Tip
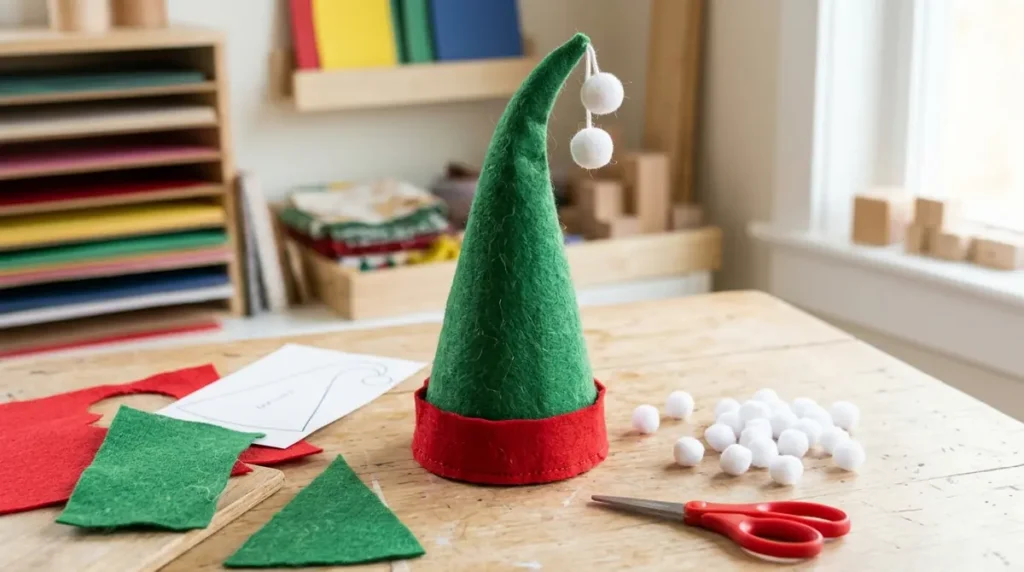
An elf hat is a great choice for Christmas parties, costume days, and family photographs. Its pointed shape and contrasting colors make it easy to recognize, while small bells or pom-poms can add extra character.
You can make a simple paper version for a one-day activity or use felt to create a more durable accessory.
Materials you’ll need
- Green and red cardstock or felt
- Scissors
- Glue or suitable fabric adhesive
- Measuring tape
- Small craft pom-poms
- Optional lightweight craft bell
How to create the hat
- Measure the head circumference and determine the height you want for the hat.
- Cut a large cone-shaped piece of green cardstock or felt.
- Roll the material into a cone, adjusting the base to fit comfortably.
- Attach a red strip around the bottom edge to create a contrasting brim.
- Add one or two small pom-poms to the pointed tip.
- If desired, decorate the brim with small paper shapes or a few lightweight felt accents.
Styling tip: Green and red create a traditional elf look, while green and white offer a softer, winter-inspired style. Keep accessories lightweight so the hat stays comfortable.
Cotton Ball Snowman Hat Craft
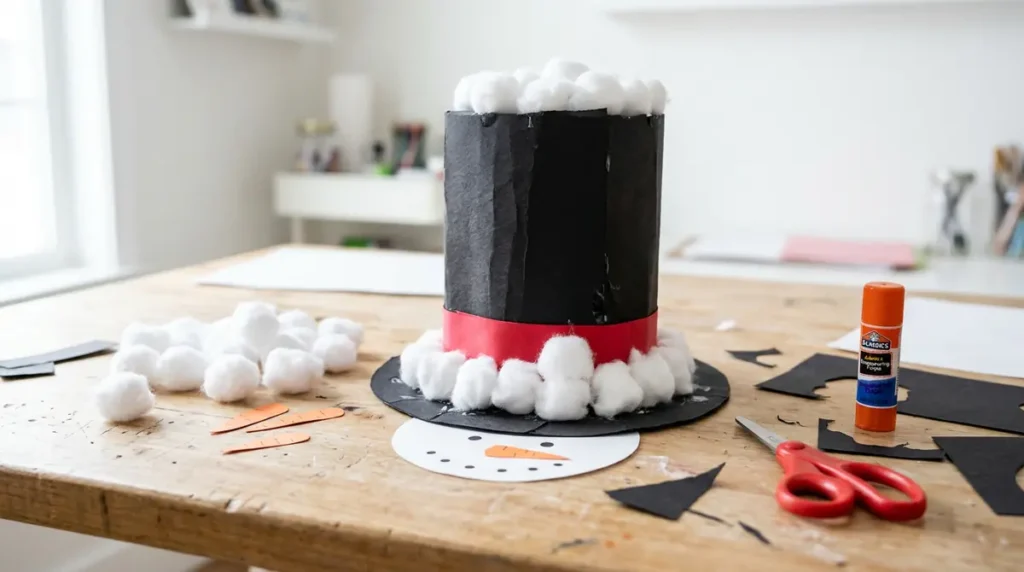
A snowman hat craft is a cute way to bring winter-themed creativity into your Christmas activities. Instead of making a wearable hat, you can create a decorative top hat using cardstock and cotton balls.
This project works well for classroom displays, children’s craft tables, and handmade holiday decorations.
Materials you’ll need
- Black cardstock
- White cardstock
- Cotton balls
- Orange paper
- Glue stick or craft glue
- Scissors
- Optional ribbon or colored paper
How to make it
- Cut a tall rectangle from black cardstock to form the main body of the top hat.
- Cut a wide black oval or rounded rectangle for the brim.
- Attach the main body to the brim, forming a recognizable top-hat shape.
- Cut a thin strip of red, green, or blue paper and glue it around the lower part of the hat as a decorative band.
- Add a few cotton balls around the bottom edge or on a separate snowman craft to create a snowy effect.
- Use orange paper to make a small carrot-shaped nose if you’re adding the hat to a snowman face or paper snowman display.
Styling tip: Use a black hat with a red band for a classic snowman look. If you’re making a larger classroom decoration, mount the finished hat on white poster board.
Reusable Felt Christmas Hat With Pom-Poms
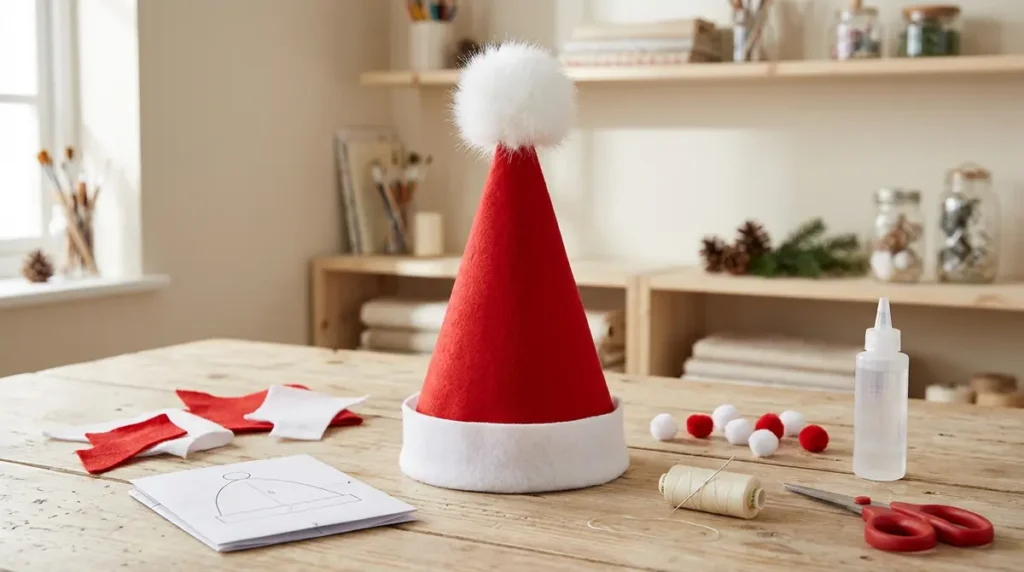
If you want a Christmas hat that can be worn year after year, felt is a useful material. It is lightweight, available in festive colors, and easy to cut into simple shapes.
This project can be adapted into a Santa-inspired hat, a playful elf hat, or a colorful holiday party accessory.
Materials you’ll need
- Red, green, or white craft felt
- Matching or contrasting felt for the brim
- Soft craft pom-poms
- Scissors
- Fabric-safe adhesive or needle and thread
- Measuring tape
- Paper for a simple hat pattern
How to make it
- Measure the head circumference and draw a paper pattern for a cone or pointed hat.
- Place the pattern on the felt and cut out the required pieces.
- Join the edges using fabric-safe adhesive or a simple seam, depending on your skill level.
- Cut a separate strip of felt for the brim and attach it around the base.
- Add a pom-pom to the tip and a few lightweight felt shapes to decorate the hat.
- Allow the adhesive to dry completely and check the fit before wearing it.
Styling tip: Red felt with a white brim creates a Santa-inspired design, while green felt with red accents creates a festive elf hat. Store the finished hat flat or gently stuffed so it keeps its shape.
For children’s hats, avoid sharp decorations, long loose cords, and small detachable parts that could present a choking risk to young children.
Final Tips for Successful Christmas Hat Crafts
Christmas hat crafts are most enjoyable when the materials and steps match the age and skill level of the people making them.
- Prepare paper pieces in advance for younger children.
- Use washable glue and child-safe scissors where appropriate.
- Choose cardstock for quick projects and felt for reusable accessories.
- Keep decorations lightweight so wearable hats remain comfortable.
- Allow glue and paint to dry completely before wearing or displaying a hat.
- Supervise young children when using scissors, hot glue, elastic, or small decorative parts.
Whether you’re making Santa hats for a classroom, reindeer antlers for a party, or reusable felt hats for the whole family, these projects offer a creative way to add handmade charm to your Christmas celebrations.