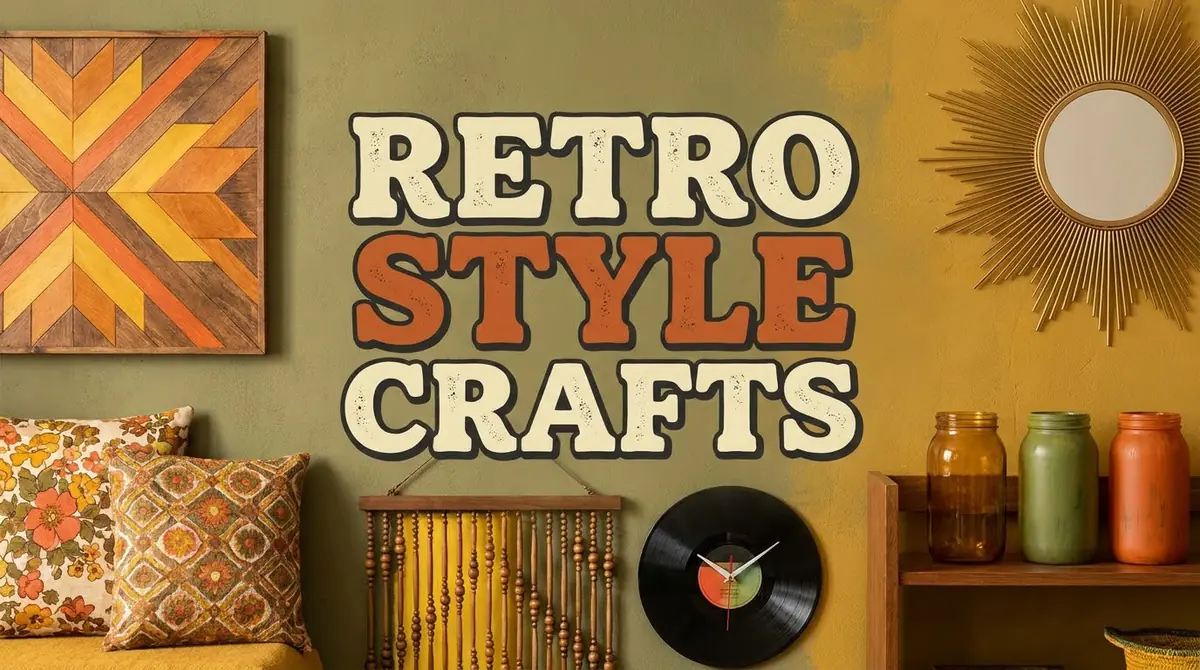
Retro Style Crafts: 6 Easy DIY Projects to Bring Vintage Charm Into Your Home
Vintage style never really goes out of fashion. From warm earthy colors and bold geometric patterns to playful decorations inspired by the 1960s, 1970s, and 1980s, retro design brings personality and nostalgia into modern homes.
The best part is that you do not need expensive antiques or special decorating skills to enjoy this look. With a few affordable materials, you can create beautiful retro-inspired decorations yourself.
In this guide, you will discover six easy retro style crafts that combine old-fashioned charm with practical modern use. These projects include colorful wall decorations, decorative mirrors, vintage-inspired storage, and other creative pieces that can make your home feel more personal.
1. Retro Geometric Wall Art
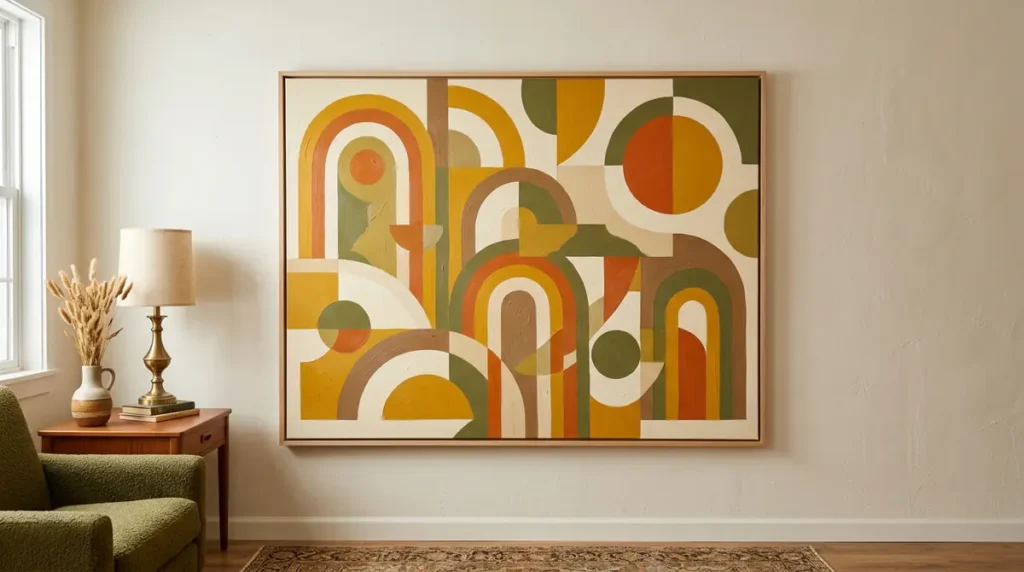
Retro interiors are famous for their bold shapes, curved lines, circles, arches, and contrasting colors. Geometric wall art is one of the easiest ways to introduce this style into a room.
You can create a unique piece using simple cardstock or canvas and colors inspired by vintage interiors, such as mustard yellow, burnt orange, olive green, cream, and brown.
Materials Needed:
- Canvas board or thick cardstock
- Acrylic paints or colored paper
- Paintbrushes
- Pencil and ruler
- Scissors
- Craft glue
- Masking tape
Step-by-Step Instructions:
- Choose three or four retro-inspired colors that complement each other.
- Draw different shapes, such as circles, half-circles, arches, rectangles, and wavy lines, on your canvas.
- Use masking tape to create clean geometric sections where needed.
- Paint each shape using your selected colors.
- Allow the paint to dry completely before removing the masking tape.
- Add a simple frame or display the finished artwork directly on your wall.
Difficulty Level: Easy
Approximate Time: 45–60 minutes, excluding additional drying time.
Decorating Tip: Create a set of three smaller geometric artworks instead of one large piece. Display them together to create a coordinated retro gallery wall.
2. DIY Vintage Sunburst Mirror
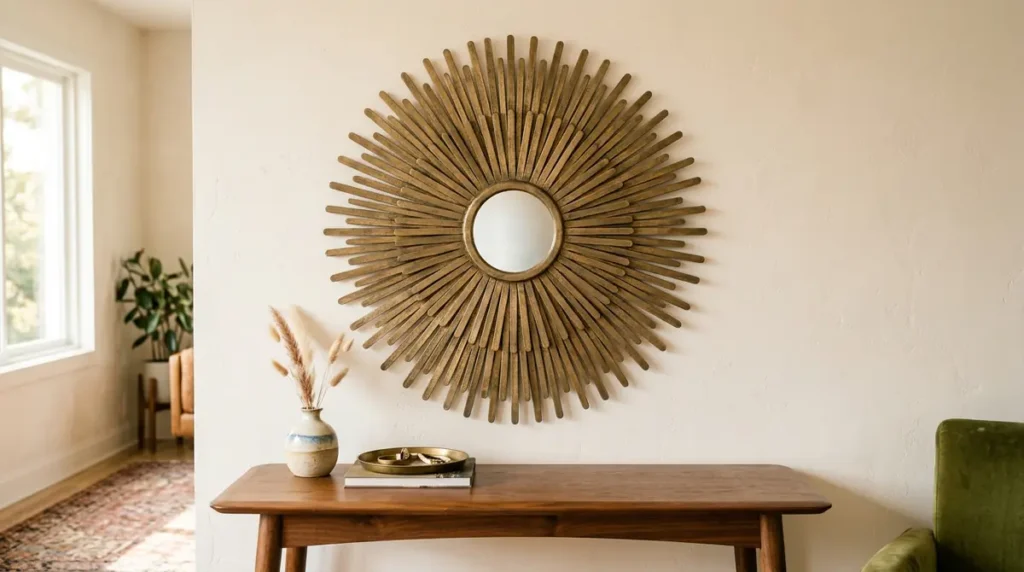
Sunburst mirrors became a recognizable decorative feature in mid-century interiors. Their radiating shapes create an attractive focal point above a console table, bedroom dresser, or living room sofa.
A homemade version can be made using wooden craft sticks and a small round mirror.
Materials Needed:
- Small round craft mirror
- Wooden craft sticks
- Strong craft glue or suitable hot glue
- Round cardboard or plywood backing
- Acrylic paint in gold, bronze, or dark brown
- Paintbrush
- Pencil
- Hanging hardware
Step-by-Step Instructions:
- Cut a round backing from sturdy cardboard or use a lightweight wooden disc slightly larger than your mirror.
- Mark the center of the backing and position the mirror there.
- Arrange wooden craft sticks around the mirror to create a sunburst pattern.
- Make sure the sticks are evenly spaced and extend outward at different lengths for a more natural design.
- Glue the sticks securely to the backing.
- Once the glue has dried, paint the entire decorative frame gold, bronze, or another vintage-inspired shade.
- Attach the mirror to the center using an appropriate mirror-safe adhesive.
- Add suitable hanging hardware to the back.
Difficulty Level: Easy to Moderate
Approximate Time: 1–2 hours, plus drying time.
Decorating Tip: Use metallic bronze for a warm vintage appearance or muted gold for a classic mid-century look. Make sure the mirror and backing are securely attached before hanging.
3. Retro Fabric Cushion Covers
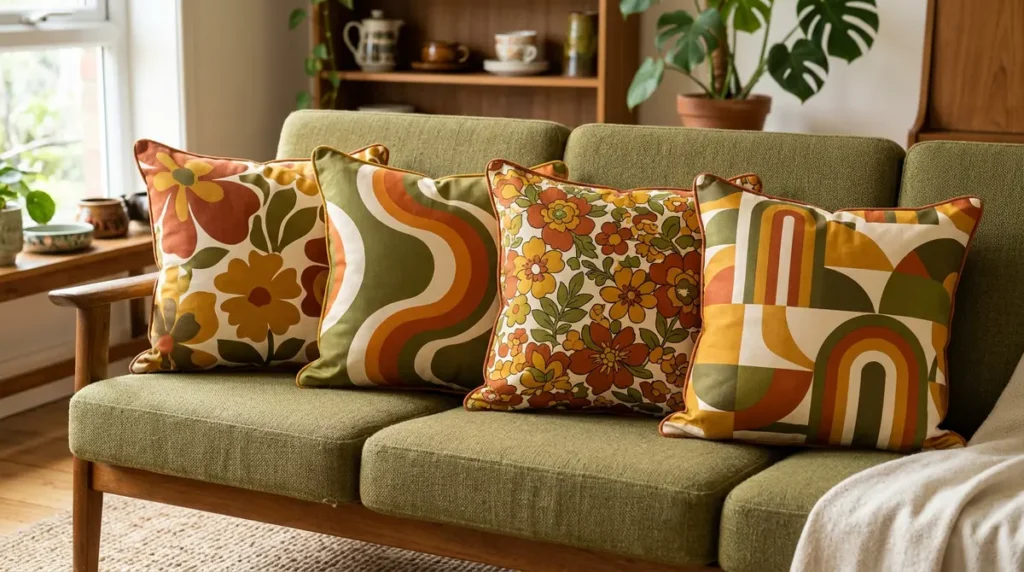
A simple cushion can completely change the appearance of a sofa or reading corner. Retro-inspired fabric designs often feature large flowers, wavy lines, checkerboard patterns, and warm contrasting colors.
Instead of buying new cushions, you can transform plain covers using printed fabric.
Materials Needed:
- Plain cushion cover or fabric
- Retro-inspired printed cotton fabric
- Fabric scissors
- Measuring tape
- Sewing machine or needle and thread
- Fabric pins
- Iron
Step-by-Step Instructions:
- Choose a fabric with a vintage-inspired pattern, such as oversized flowers, geometric shapes, or abstract curves.
- Measure your cushion cover and decide whether you want to cover the whole cushion or add a decorative front panel.
- Cut the fabric according to your measurements, allowing extra material for seams.
- Pin the fabric pieces together with their patterned sides facing inward.
- Sew around the edges, leaving an opening for inserting the cushion if you are making a complete cover.
- Turn the cover right-side out and press it with an iron.
- Insert the cushion and close the opening using a zipper, buttons, or hand stitching.
Difficulty Level: Easy to Moderate
Approximate Time: 1–2 hours.
Decorating Tip: Combine a floral cushion with a striped or geometric one. Mixing different patterns creates a playful retro look, especially when they share similar colors.
4. Vintage-Inspired Glass Jar Vases
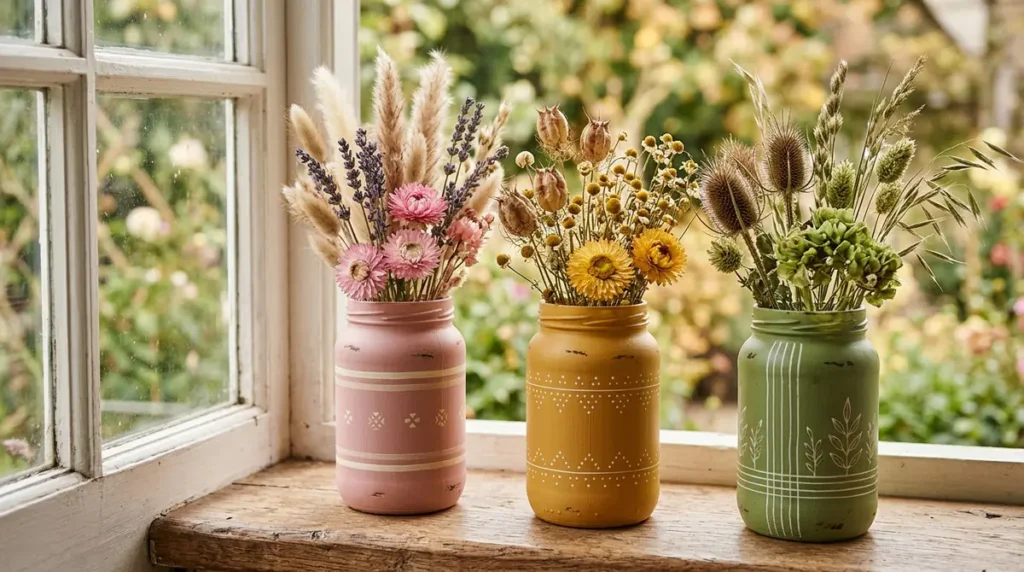
Old glass jars can become attractive decorative vases with a little paint and creativity. This project is particularly useful because it gives everyday containers a second purpose.
You can use jars for artificial flowers, dried arrangements, or fresh flowers when the painted finish is kept on the outside and the interior remains suitable for holding water.
Materials Needed:
- Clean glass jars
- Glass-compatible or multi-surface paint
- Paintbrushes or sponge brushes
- Painter’s tape
- Sandpaper (optional, for suitable paint systems)
- Protective finish compatible with the paint (optional)
Step-by-Step Instructions:
- Wash the jars thoroughly and remove all labels and adhesive.
- Allow them to dry completely.
- Choose a retro color palette, such as avocado green, mustard yellow, dusty pink, or terracotta.
- Apply a thin coat of suitable paint to the outside of each jar.
- Allow the first coat to dry before adding another coat if needed.
- Use painter’s tape to create stripes or geometric patterns.
- Remove the tape carefully and allow the paint to cure according to the manufacturer’s instructions.
- Arrange the finished jars on a shelf, dining table, or windowsill.
Difficulty Level: Easy
Approximate Time: 30–45 minutes, excluding curing time.
Decorating Tip: Make three jars in different heights using the same color family. Group them together with dried flowers for a coordinated vintage display.
5. DIY Retro Beaded Curtain
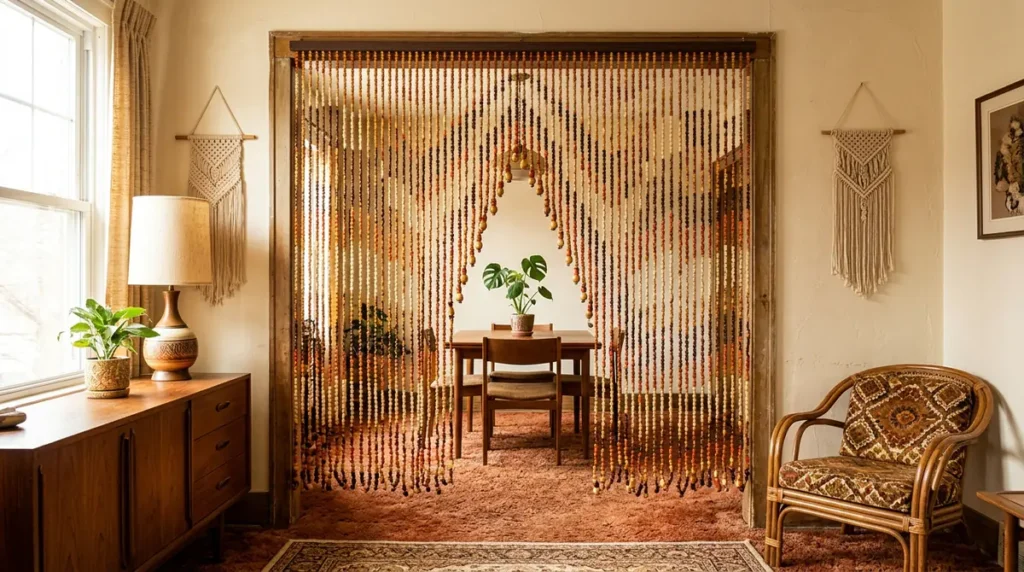
Beaded curtains are strongly associated with playful vintage interiors. They can add texture and movement to a doorway, room divider, or decorative wall opening.
A DIY version allows you to select the colors and pattern while creating a decorative feature that suits your home.
Materials Needed:
- Wooden beads or acrylic beads
- Strong nylon cord or suitable beading line
- Wooden dowel or curtain rod
- Scissors
- Measuring tape
- Curtain rod brackets
- Optional decorative spacer beads
Step-by-Step Instructions:
- Measure the width and height of the doorway or opening where you want to hang the curtain.
- Decide how many hanging strands you need and how much space you want between them.
- Cut individual lengths of cord, making each one longer than the final hanging length to allow for knots.
- Tie a secure knot at the bottom of each strand.
- Thread the beads onto the cord, following a planned color pattern.
- Secure the final bead with a strong knot.
- Repeat the process until all strands are ready.
- Attach the strands evenly to a wooden dowel or curtain rod.
- Install the rod securely using suitable brackets.
Difficulty Level: Moderate
Approximate Time: 2–4 hours, depending on the number of strands.
Decorating Tip: Alternate cream, amber, brown, and orange beads for a warm 1970s-inspired appearance. Keep the curtain clear of walkways where it could become a tripping or entanglement hazard.
6. Retro Vinyl Record Wall Clock
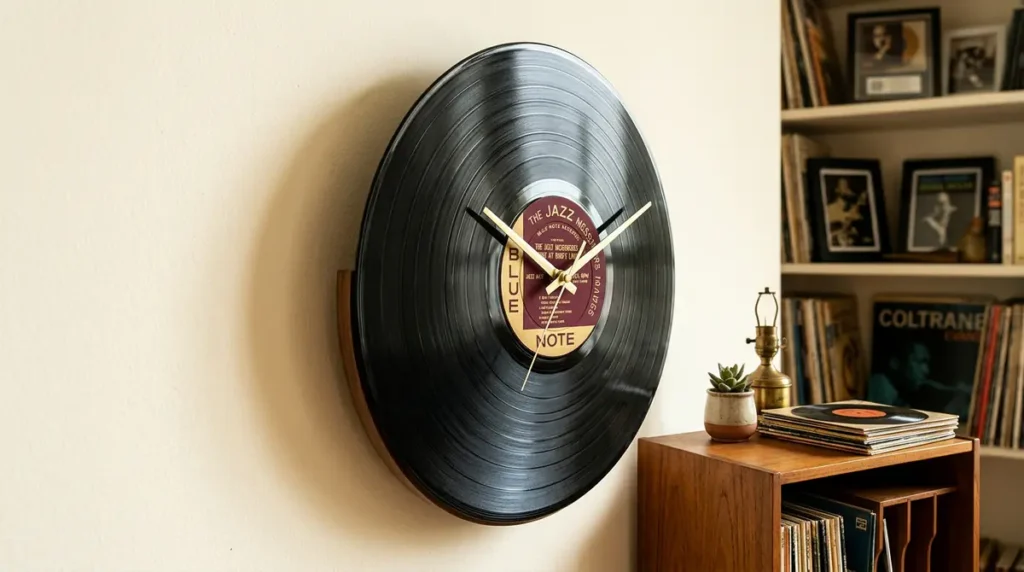
Vinyl records are a classic symbol of music culture and retro design. If you have a damaged or unwanted record that you no longer use, you can turn it into a decorative wall clock.
This craft is especially suitable for a music corner, bedroom, entertainment room, or home office.
Materials Needed:
- Unwanted vinyl record
- Battery-operated quartz clock movement
- Clock hands
- Suitable mounting hardware
- Drill and appropriate drill bit, if the record does not already have a suitable center opening
- Battery
Step-by-Step Instructions:
- Clean the vinyl record gently using a soft, dry cloth.
- Check the center opening and make sure it is compatible with the selected clock movement.
- Choose a clock mechanism designed for the thickness of your record.
- Insert the clock movement through the center opening.
- Attach the washer and retaining nut according to the movement instructions.
- Fit the hour, minute, and second hands in the correct order.
- Insert the battery and test the clock.
- Attach suitable hanging hardware and display it on the wall.
Difficulty Level: Easy to Moderate
Approximate Time: 30–45 minutes.
Decorating Tip: Keep the original record label visible for an authentic vintage look. Use a lightweight movement and avoid forcing the record if the center opening needs adjustment.
Conclusion
Retro style is all about bringing personality, warmth, and nostalgic details into everyday spaces. You do not need a complete room makeover to achieve this look. Small handmade decorations can make a surprisingly big difference.
These six retro style crafts offer different ways to reuse materials and create attractive home accessories. Start with geometric wall art or a painted glass jar if you want a quick project. If you enjoy more detailed DIY activities, try the beaded curtain or vinyl record clock.
Choose colors and patterns that you love, experiment with different materials, and create decorations that make your home feel unique.
Frequently Asked Questions
1. What are the best colors for retro style crafts?
Mustard yellow, burnt orange, olive green, avocado green, cream, brown, and dusty pink are popular choices for vintage-inspired DIY projects.
2. What materials can I reuse for retro crafts?
You can reuse glass jars, unwanted vinyl records, old fabric, cardboard, wooden sticks, and other suitable household materials.
3. Are retro crafts suitable for beginners?
Yes. Projects such as geometric wall art, painted jars, and cushion covers are suitable for beginners. More detailed projects may require extra patience and basic crafting skills.
4. How can I decorate a modern home with retro crafts?
Choose one or two retro-inspired pieces and combine them with simple modern furniture. A geometric artwork, vintage-style mirror, or patterned cushion can add character without making the room feel overcrowded.