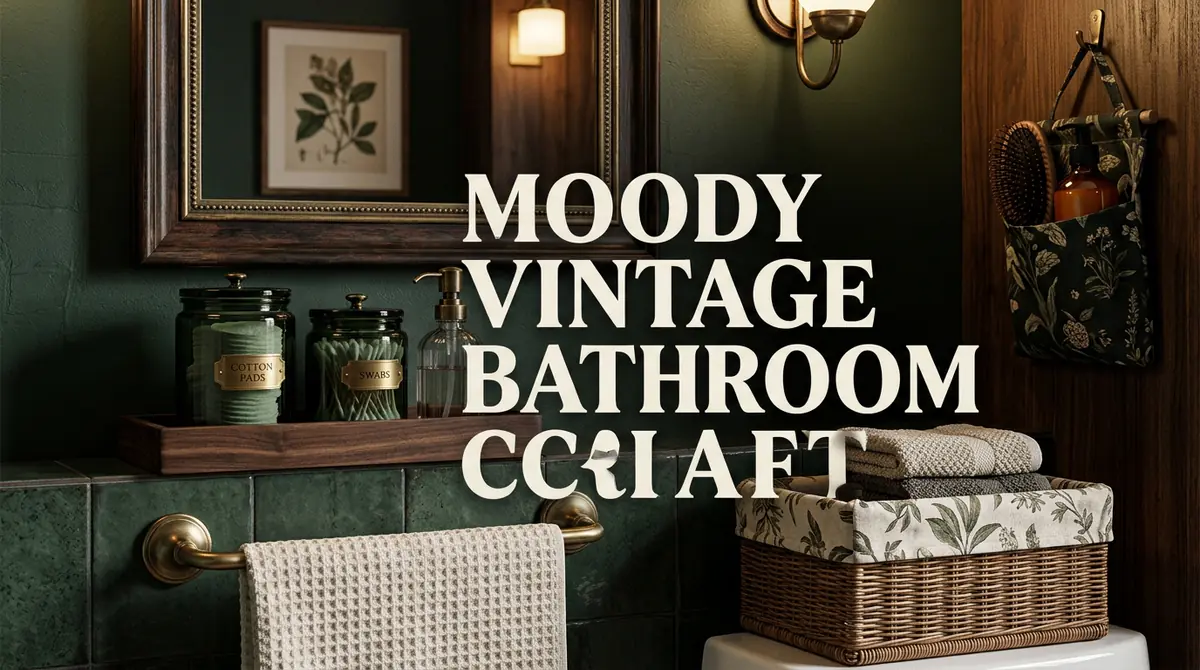
Moody Vintage Bathroom Crafts: 7 Easy DIY Ideas for a Dark and Elegant Bathroom
A bathroom doesn’t have to be bright and modern to look beautiful. Dark colors, antique-inspired details, aged-looking finishes, and warm natural textures can create a relaxing space with a timeless vintage atmosphere.
The moody vintage bathroom style combines deep colors such as forest green, charcoal, burgundy, dark brown, and muted black with materials like wood, glass, brass-look finishes, and patterned fabric.
You don’t need to renovate your entire bathroom to achieve this look. A few thoughtful DIY projects can make a noticeable difference while giving you practical storage, better organization, and useful accessories.
In this guide, you’ll discover 7 Moody Vintage Bathroom Crafts that are affordable, beginner-friendly, and suitable for everyday bathroom use.
A quick bathroom safety note: Bathrooms experience humidity, splashes, and frequent cleaning. Choose moisture-resistant materials and compatible protective coatings. These projects are water-resistant only where the selected materials and finishes provide that protection. Keep handmade items away from direct shower spray and standing water.
1. Dark Vintage Mason Jar Bathroom Organizers
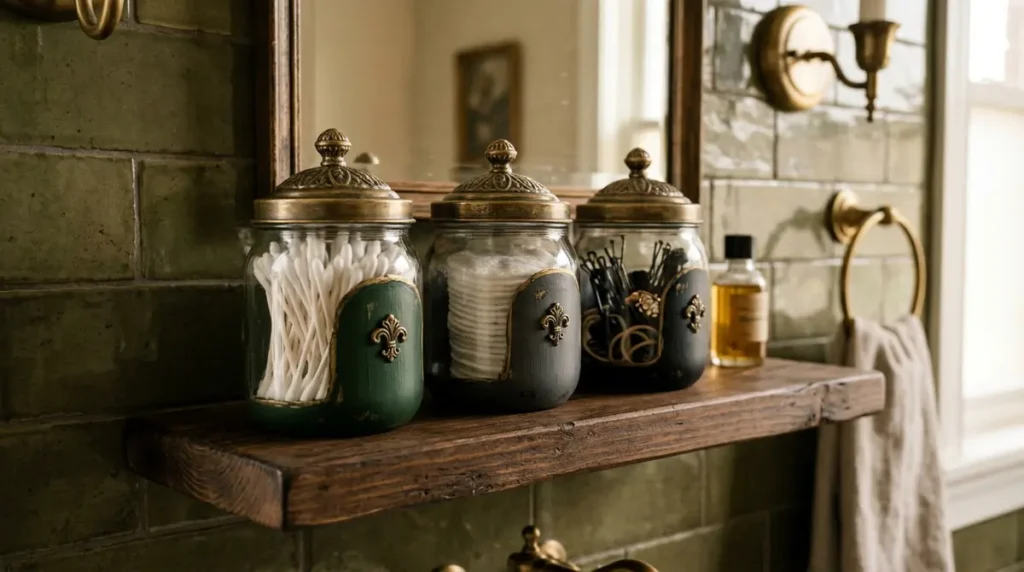
Small bathroom accessories can quickly make a vanity look messy. Recycled glass jars provide an affordable way to organize cotton pads, cotton swabs, hair ties, and other small essentials.
Give them a moody vintage appearance with deep green, charcoal, or antique-brass-inspired details.
Why It’s Useful: These organizers keep small bathroom items together and make your vanity easier to maintain.
Materials:
- Clean glass jars
- Glass-compatible acrylic paint
- Masking tape
- Small paintbrush
- Antique-brass-look paint suitable for glass
- Compatible clear protective finish
- Cotton pads or bathroom accessories
Steps:
- Wash the glass jars and remove all labels.
- Dry them completely.
- Apply masking tape to create simple stripes or decorative sections.
- Paint the outside using deep forest green, charcoal, or muted black.
- Allow the paint to dry according to the manufacturer’s instructions.
- Add small antique-brass-look details using compatible paint.
- Remove the masking tape carefully.
- Apply a compatible protective coating if recommended.
- Let the jars cure completely before adding bathroom accessories.
Difficulty: Very Easy
Approximate Time: 45–60 minutes, plus drying time
Approximate Cost: Under $10
Quick Tip: Keep the inside of the jars unpainted and dry the outside immediately if it gets splashed.
2. Vintage Wooden Bathroom Tray
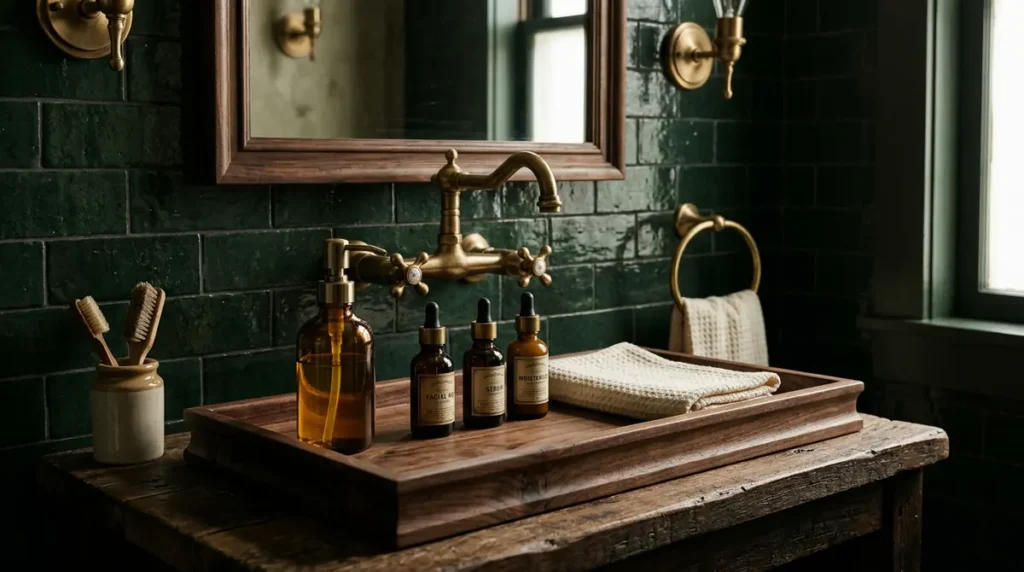
A bathroom vanity can become cluttered with soap dispensers, skincare bottles, perfume, and other everyday essentials. A wooden tray creates a dedicated space for these items while adding a vintage hotel-inspired appearance.
Why It’s Useful: It keeps frequently used products together and makes cleaning the vanity easier because several items can be moved at once.
Materials:
- Small wooden tray or shallow wooden box
- Fine sandpaper
- Dark wood stain or suitable furniture paint
- Paintbrush
- Water-based polyurethane suitable for the intended surface
- Clean cloth
- Optional decorative handles
Steps:
- Choose a shallow wooden tray with a stable base.
- Sand any rough edges and remove the dust.
- Apply a dark walnut stain or deep brown furniture paint.
- Follow the product’s drying instructions.
- Apply a compatible water-resistant protective finish.
- Allow the finish to cure fully before placing bathroom products on it.
- Add decorative handles if the tray has suitable mounting points.
- Place the tray on a dry vanity surface and arrange your daily essentials.
Difficulty: Easy
Approximate Time: 60–90 minutes, plus drying and curing time
Approximate Cost: Under $15
Quick Tip: Use a tray with raised edges to help prevent bottles from sliding off.
3. Moody Vintage Bathroom Wall Pockets
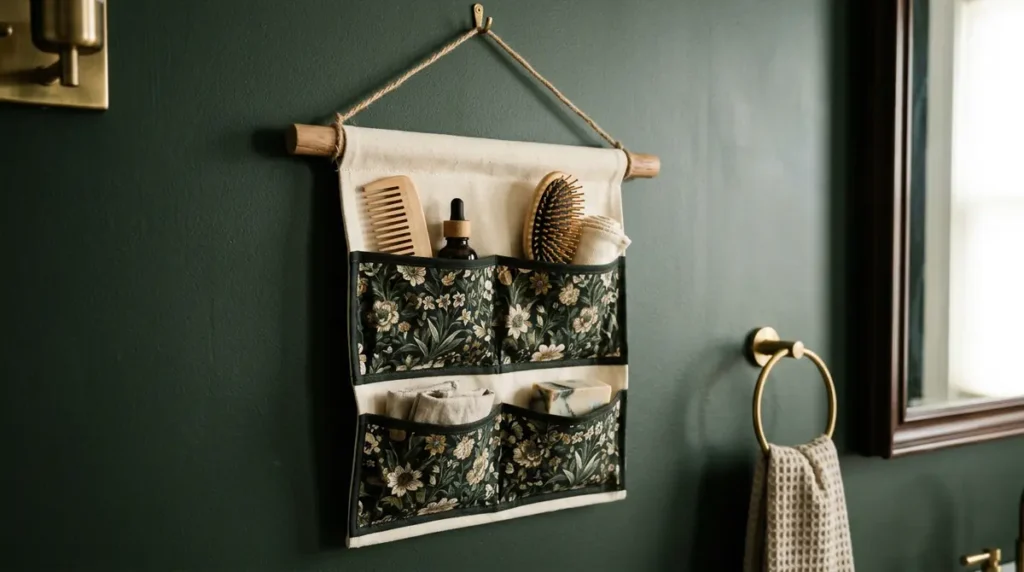
Not every bathroom has enough counter space for brushes, combs, and small accessories. A hanging fabric organizer uses unused wall space and keeps lightweight items within easy reach.
For a vintage appearance, choose dark floral fabric, botanical prints, or muted burgundy and forest-green patterns.
Why It’s Useful: It creates extra storage without occupying valuable vanity space.
Materials:
- Thick cotton canvas
- Dark floral or botanical fabric
- Needle and thread or sewing machine
- Wooden dowel
- Measuring tape
- Scissors
- Hanging cord
- Small hooks suitable for the wall
Steps:
- Cut a rectangular piece of canvas for the backing.
- Cut two or three pocket pieces from your patterned fabric.
- Fold and stitch the upper edges of the pockets.
- Position the pockets on the canvas backing.
- Sew the sides and bottoms of the pockets securely.
- Create a fabric sleeve along the top edge for the wooden dowel.
- Insert the dowel and attach a hanging cord.
- Mount it on a suitable wall away from direct shower spray.
- Use the pockets for lightweight, dry accessories.
Difficulty: Easy
Approximate Time: 60–90 minutes
Approximate Cost: Under $10
Quick Tip: Avoid hanging this organizer directly beside a shower or bathtub, where repeated moisture exposure can damage the fabric.
4. Antique-Look Bathroom Mirror Frame
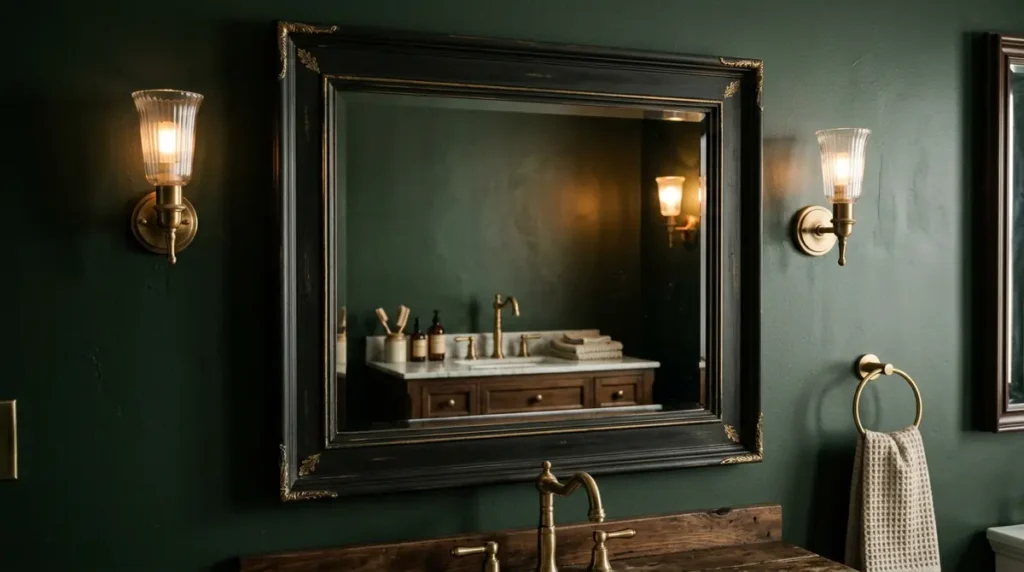
A plain bathroom mirror can look more interesting with a vintage-inspired frame. A dark painted frame with subtle aged-brass details can create the appearance of an antique bathroom accessory.
Why It’s Useful: It improves the appearance of an existing mirror without requiring you to replace it.
Materials:
- Existing mirror with a suitable frame
- Fine sandpaper
- Dark green, charcoal, or black paint
- Antique-brass-look decorative paint
- Small paintbrush
- Masking tape
- Compatible water-resistant protective finish
Steps:
- Clean the existing mirror frame.
- Protect the glass using masking tape and paper.
- Lightly sand the frame if its material and existing finish allow it.
- Wipe away all dust.
- Apply your selected dark base color.
- Let the paint dry according to its instructions.
- Lightly apply antique-brass-look paint to selected edges and details.
- Allow the decorative finish to dry.
- Apply a compatible protective coating where appropriate.
- Remove the masking materials after the finish has dried sufficiently.
Difficulty: Easy
Approximate Time: 60–90 minutes, plus drying time
Approximate Cost: Under $15
Quick Tip: Use brass-look details sparingly. A few highlights usually look more convincing than covering the entire frame in metallic paint.
5. Vintage Botanical Bathroom Soap Dispenser
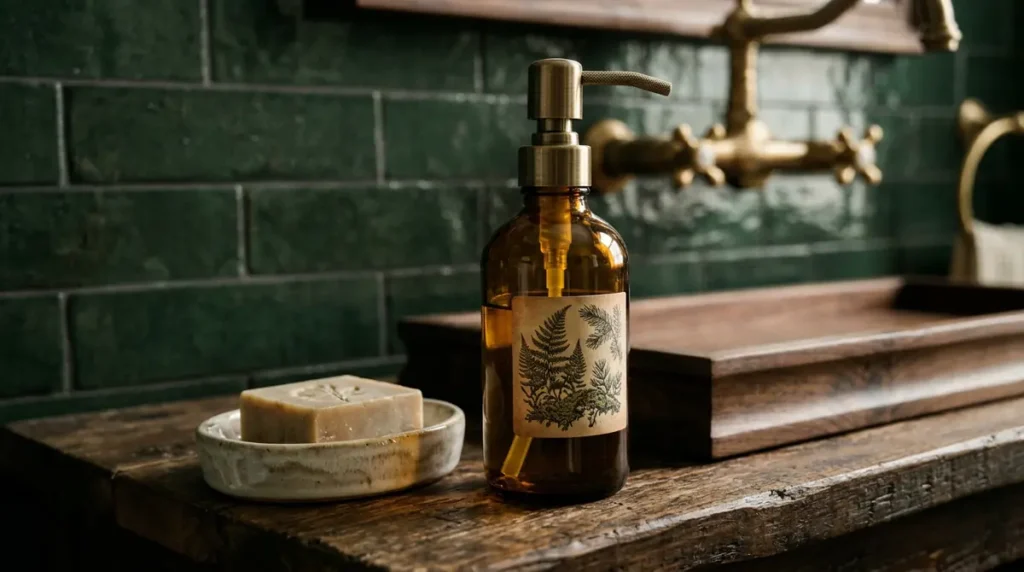
Replacing disposable-looking soap bottles with reusable dispensers is a simple way to create a more coordinated bathroom vanity.
A dark glass bottle with a botanical label and a ready-made dispenser pump fits beautifully into a moody vintage interior.
Why It’s Useful: It provides a refillable container for hand soap and reduces the need to keep multiple disposable bottles on the vanity.
Materials:
- Clean glass bottle with a suitable opening
- Ready-made soap dispenser pump
- Waterproof adhesive label material or a suitable glass-compatible decorative paint
- Botanical design template
- Scissors
- Glass-compatible sealant for decorative areas, if required
Steps:
- Choose a glass bottle with a neck that fits the dispenser pump.
- Wash and dry the bottle thoroughly.
- Select a simple botanical design.
- Print or cut the design from waterproof label material.
- Attach the label to the dry outside surface.
- Smooth out any air bubbles.
- If using paint instead, follow the manufacturer’s curing instructions.
- Insert the ready-made dispenser pump.
- Fill with liquid hand soap and place it on a dry vanity tray.
Difficulty: Very Easy
Approximate Time: 20–30 minutes
Approximate Cost: Under $10
Quick Tip: Use a removable waterproof label rather than ordinary paper, which can become damaged by bathroom humidity and splashes.
6. Vintage Bathroom Towel Hanger
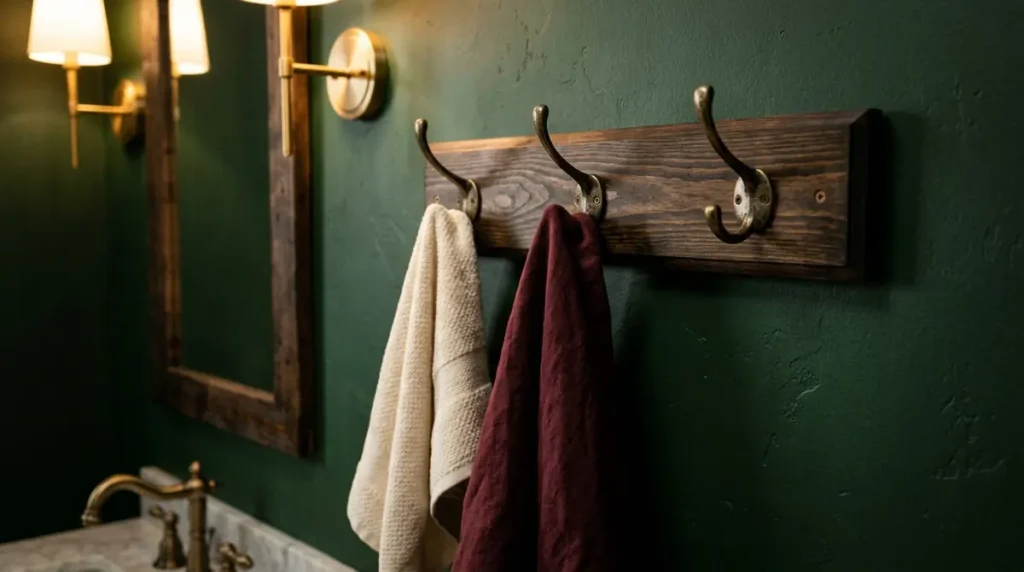
Towels are easier to manage when they have a dedicated hanging place. A simple wooden towel hanger with antique-inspired hooks can provide practical storage while complementing a moody vintage bathroom.
Why It’s Useful: It keeps hand towels off the counter and helps them dry between uses.
Materials:
- Small wooden board
- Two or three corrosion-resistant hooks
- Dark wood stain or furniture paint
- Sandpaper
- Paintbrush
- Compatible protective wood finish
- Screws suitable for the hooks
- Suitable wall fixings
Steps:
- Select a wooden board of a suitable size.
- Sand the surface and remove dust.
- Apply dark walnut stain or charcoal furniture paint.
- Allow the finish to dry.
- Apply a compatible protective coating according to the product instructions.
- Mark equal positions for the hooks.
- Attach corrosion-resistant hooks using suitable screws.
- Fix the board securely to the wall using appropriate wall anchors.
- Hang lightweight hand towels from the hooks.
Difficulty: Easy
Approximate Time: 45–60 minutes, plus drying time
Approximate Cost: Under $15
Quick Tip: Choose stainless steel or another bathroom-suitable corrosion-resistant hook material to help reduce rust.
7. Moody Vintage Bathroom Storage Basket
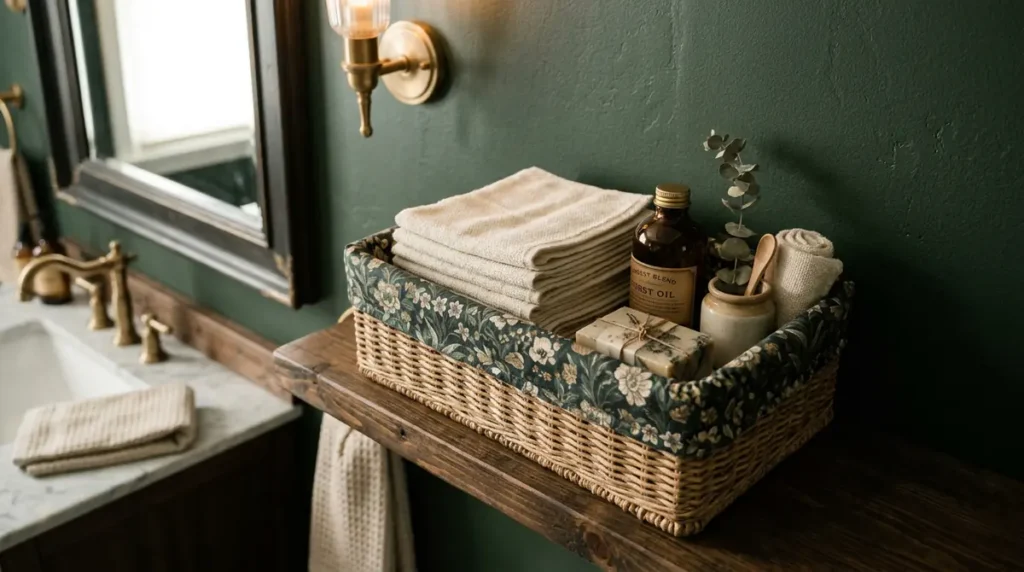
Bathroom cabinets often become disorganized because small products are difficult to keep together. A decorated storage basket offers a simple solution for organizing spare toiletries, washcloths, and cleaning supplies.
Choose a natural woven basket with dark fabric lining for a vintage-inspired appearance.
Why It’s Useful: It groups similar bathroom essentials together and makes shelves and cabinets easier to organize.
Materials:
- Small woven basket
- Cotton fabric in dark floral or botanical patterns
- Scissors
- Needle and thread
- Measuring tape
- Fabric ribbon
- Optional washable fabric liner
Steps:
- Choose a sturdy basket with no loose or damaged weaving.
- Measure the inside base and sides.
- Cut the fabric to create a simple removable liner.
- Sew the fabric pieces together to form a basket-shaped lining.
- Fold the top edge neatly.
- Place the liner inside the basket.
- Add a fabric ribbon around the outside if desired.
- Use the basket to store spare toiletries, dry washcloths, or other bathroom essentials.
Difficulty: Easy
Approximate Time: 45–60 minutes
Approximate Cost: Under $10
Quick Tip: Choose a removable liner that can be washed separately. Take it out regularly and let it dry completely.
Conclusion
Creating a moody vintage bathroom doesn’t require a complete renovation. Small changes can introduce dark colors, natural textures, antique-inspired finishes, and practical storage without making the space feel overcrowded.
These 7 Moody Vintage Bathroom Crafts are designed to make everyday bathroom routines easier while giving your space a distinctive vintage character.
Start with a wooden vanity tray or glass jar organizer, then add matching accessories as your budget allows. Remember to choose suitable moisture-resistant finishes, keep handmade pieces away from direct water exposure, and allow painted surfaces to cure completely before use.
A beautiful bathroom should be both stylish and functional.
Frequently Asked Questions
1. What colors work best for a moody vintage bathroom?
Deep forest green, charcoal, burgundy, dark brown, muted black, antique brass, and warm cream are popular choices for this style.
2. How can I make my bathroom look vintage on a budget?
Reuse glass jars, decorate an existing mirror frame, refinish a wooden tray, and add botanical fabrics. These small changes can create a vintage atmosphere without expensive renovations.
3. Which materials are suitable for bathroom DIY crafts?
Glass, properly sealed wood, washable cotton fabric, corrosion-resistant metal, and suitable moisture-resistant paints and finishes are useful options.
4. How do I protect handmade bathroom crafts from humidity?
Use products specifically designed for the material and intended environment. Keep handmade crafts away from direct water spray, wipe away splashes, ventilate the bathroom, and allow materials to dry fully.